How To: At-home Manicure
Step-by-step guide
All you need are a few basic nail care products and our easy-to-follow, step-by-step guide to achieve the perfect at-home manicure. Taking care of your nails and cuticles on the regular is essential for a beautiful and healthy appearance.
Step 1 - Manicure
1. Clean Hands & Nails
To achieve beautiful and professional results, it's important to start with a clean canvas. Wash the hands and nails thoroughly with soap and water. Gently remove any dirt particles and oil with a nail brush.
2. Cuticle Care
The skin on the nail bed should be soft to facilitate pushing back or removing parts of the cuticle. This is best done with the use of a so-called cuticle softener. Alternatively, you can treat yourself to a hand soak. Simply dip your fingers into a bowl of lukewarm water mixed with a small amount of soap or mild shower gel for approximately 3 minutes.
3. Pushing back the Cuticles
Generally, the cuticles are cut when getting a manicure at a nail salon. With at-home manicures, we recommend using a cuticle pusher or orange wood stick to push back the cuticles instead.
4. Filing the Nails Correctly
A nail file is the best tool to use for shortening the nails. To avoid nails from becoming brittle, use a padded nail file with a small grain size. Important to note: Firstly, always file in one direction to prevent the nails from chipping and secondly, always place the full perpendicular to the edge of the nail. Ensure that the nails are dry before filing them. Once you have achieved the perfect shape, gently glide over the nails with the "polish" end of the nail file.
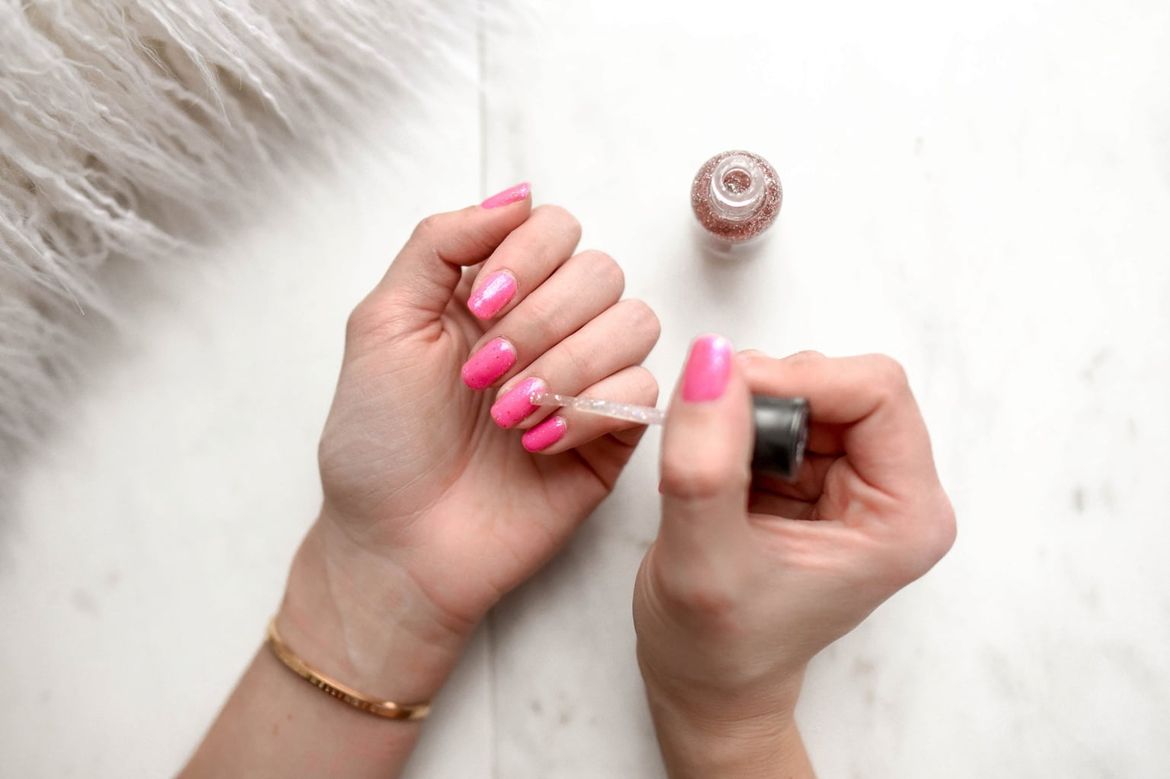
5. Nail Treatment
We recommend using a nail treatment if you plan on forgoing nail varnish. The treatment is formulated to supply the nail and nail bed with essential nutrients. These important nutrients increase resistance and prolong a well-groomed appearance.
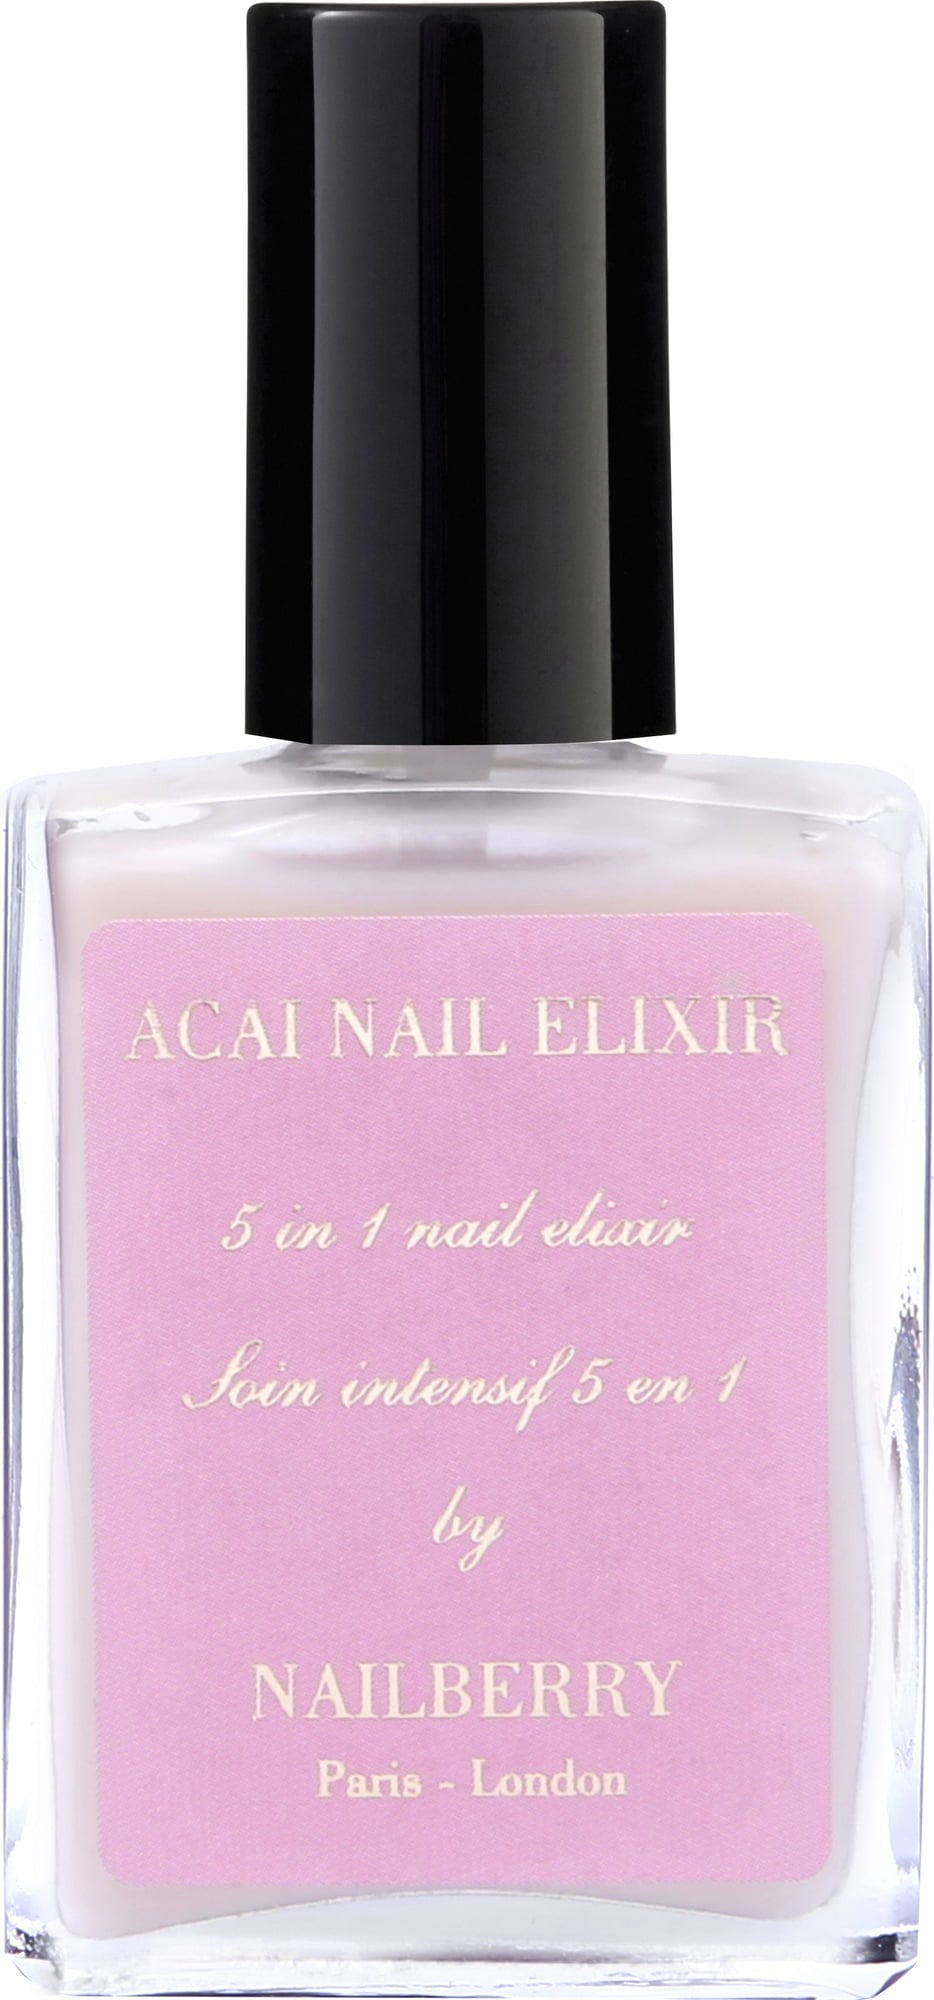
- The Nailberry Acai Nail Elixir contains a combination of keratin-like peptides and pistachio resin oils that strengthen the nail bed. Argan and baobab oil nourish and moisturise the nail, while acai berry and violet extracts protect the nail.
- The OPI Nail Envy Nail Strengthener also ensures firmer and nourished nails. The nail treatment is formulated with wheat protein and calcium. The ingredient complex ensures that the nails are optimally strengthened. At the same time, the varnish treatment also gives the nails a delicate nude shade.

Step 2 - Nail Polish
1. Base Coat
A base coat ensures that the nails are protected against discolouration and extends the wear of the nail polish applied. It also smooths over small bumps for an even more beautiful finish. Ensure that the nails are dry and free from any oil residues before applying a base coat. Allow the formula to dry for approximately 15 minutes before proceeding to the next step.
Are you looking for the perfect base coat? The Kester Black Base Coat is vegan, 10-free, and breathable, smoothes the structure of the nail and minimises nail breakage.
2. Two Layers Nail Polish
One layer of nail polish is usually sufficient when using nail polish with good coverage. However, two layers of nail polish not only provide more opacity, but it also gives a professional gel-nail finish. It is best to apply the nail polish in three brushstrokes, from the cuticle to the tip of the nail starting at the centre of the nail Allow the first coat to dry for a good 15 to 20 minutes before applying a second, thin coat of nail polish. Allow the nail polish to dry for another 15 to 20 minutes.
3. Top Coat
Seal the nail polish with a top coat. The top coat protects the nail polish, prolongs wear and ensures a high-gloss finish. The last layer of nail polish should have dried down completely (for at least 15 minutes). The drying process can be sped up using special products.
4. Accelerate the Drying Process
Only a few drops of the OPI DripDry are sufficient to significantly accelerate the drying process of freshly applied nail polish. The product also contains nourishing jojoba oil and antioxidant vitamin E that nourishes the cuticles with their moisturising properties.

5. Finish with a Nail Oil & Hand Cream
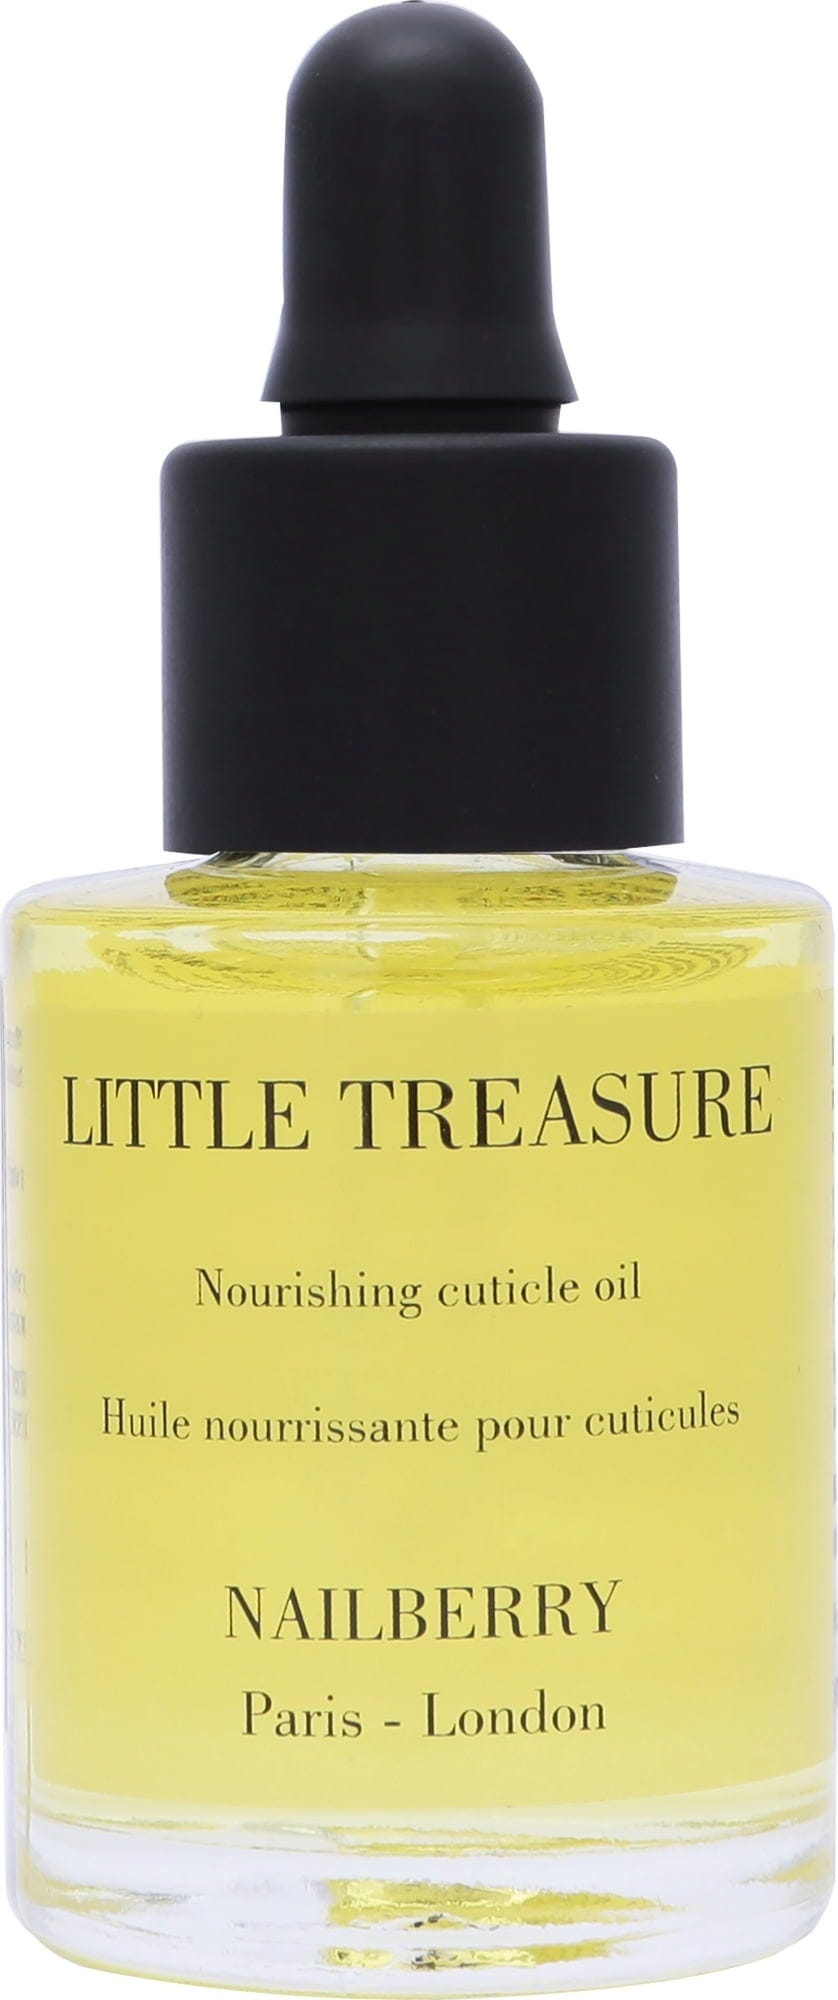
Once the nail polish has completely hardened, you can start with the final step of your hand and nail care routine. To maintain cuticle suppleness, apply a small amount of nail oil and massage it gently into the skin around the nails. The Nailberry Little Treasure Nourishing Cuticle Oil nourishes dry and chapped areas with the help of sweet almond oil. A vitamin complex, made up of vitamins A, E, B1, B2 & B6, intensively regenerates the nails and cuticles.
Finally, treat your hands to a nourishing hand cream and marvel at your perfect DIY manicure.
Latest reviews
-
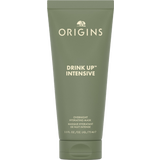
Origins Drink Up™ Intensive Overnight Hydrating Mask, 75 ml
- With avocado, apricot & hyaluronic acid
- Delivers moisture for up to 72 hours
- Contains Swiss glacier water
-
TAN Organic Self Tan Oil Light Bronze, 100 ml
- For all skin types - even sensitive skin
- Conjures up a streak-free tan
- Nourishing & hydrating
-

ROQUEBRUN Exfoliating Glove
- Suitable for all skin types
- Revmoves dead skin cells
- Optimises the tanning effect
Magazine Articles:
-
Get at least 1 free sample
per order -
Delivery in 3 business days.
-
We operate in a
climate-conscious manner. More than 6.950 products