At-home Eyebrow Tinting - How To
3 Steps to perfect brows
Not all women are fortunate enough to have full and bushy eyebrows. Oftentimes, the hairs are light which makes the eyebrows appear less dense. Enhance your brows with special eyebrow tints that add definition for a striking appearance.
Advantage: Eyebrow tints are waterproof, smudge-proof and can last for up to 6 weeks! Follow our tutorial on how to achieve fuller brows quickly and easily at home.
You'll need the following:
- Eyelash & eyebrow tint
- Developer liquid
- Small bowl for mixing
- Oil-free eye make-up remover
- Protection cream with high-fat content
- Cotton pads
- Cotton buds
- Optional: salt solution
Preparation:
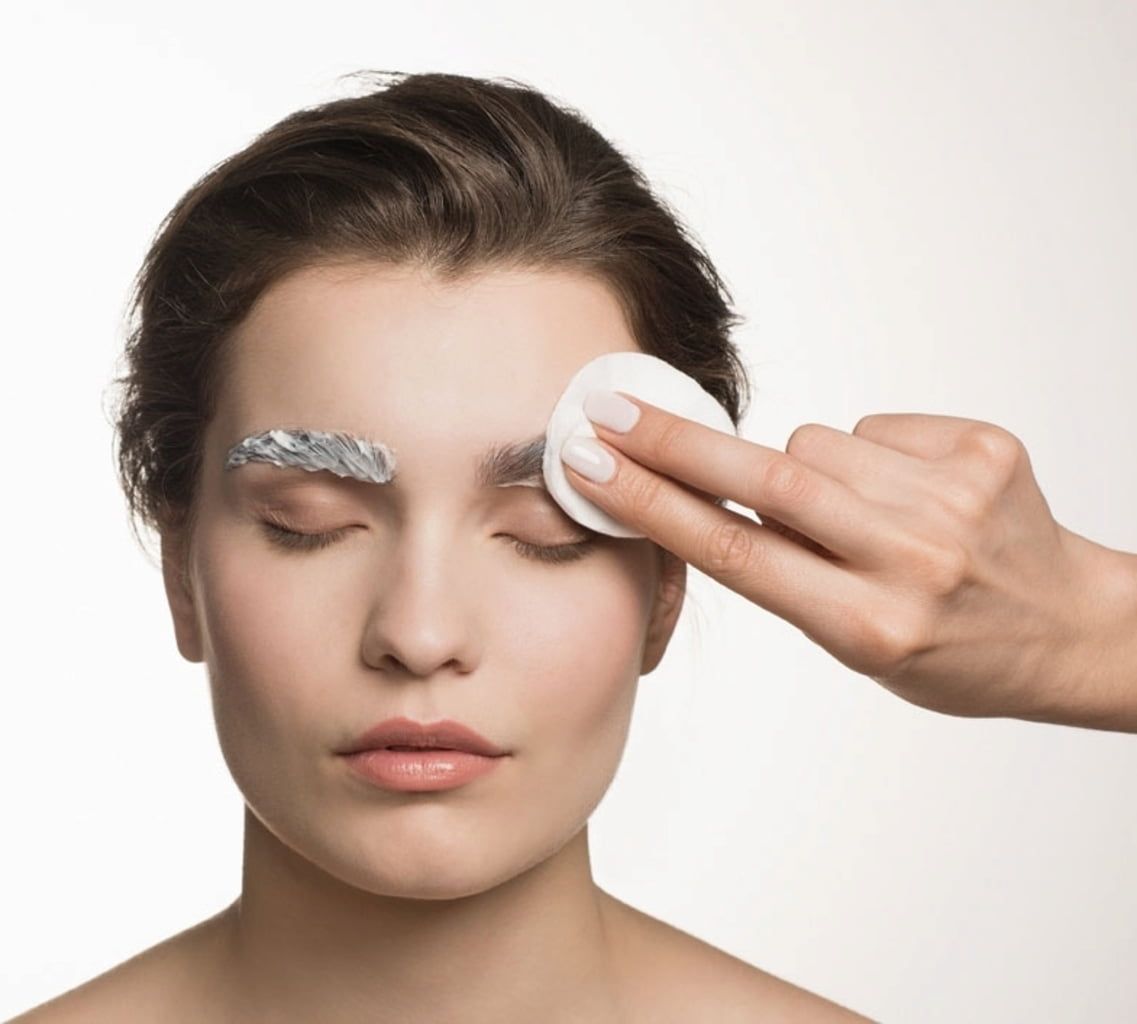
Remove contact lenses before using an oil-free make-up remover. Follow-up cleanse with a salt solution poured on a cotton pad. This step is optional. Apply a protection cream on the skin surrounding the eyebrows to prevent any staining (e.g. the (Egyptian Magic All-Purpose Skin Cream).
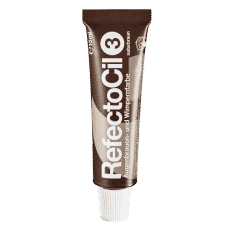
Select your desired eyelash and eyebrow tint. The colour palette of the RefectoCil Lash and Brow Tints ranges from light brown to jet black. Choose a shade that is closest to your natural hair colour. All RefectoCil shades are suitable for sensitive skin and have been dermatologically and ophthalmologically tested.
Previous tints can be removed using the RefectoCil Blonde Brow. This step should be done before proceeding to tint the brows. Note: The time needed for the brow tints to take effect is shortened by 1 to 5 minutes with the preceding application of RefectoCil Blonde Brow.
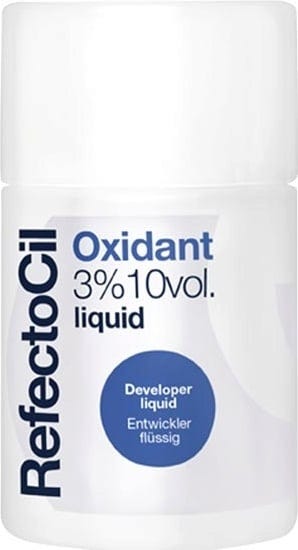
Mix the brow tint with the developing liquid in equal parts (ratio of 1:1 - i.e. 2 cm of brow tint for every 10 drops of developing liquid). Use a plastic utensil to mix the two substances. The RefectoCil Oxidant Liquid 3% is optimally adapted to be used in combination with the brand's brow tints and lasts for up to 100 applications.
Cosmeterie tip: Pluck to shape the brows after tinting them. This makes even the fine hairs more visible and prevents the colour from clogging the pores which could result in unsightly dark spots on the skin.
Application:
Coat a small brush or cotton bud with eyebrow mixture and apply to the brows in the direction of growth. Be sure to apply the cream evenly and coat all the hairs. Use a damp cotton bud to correct any mistakes. Leave the brow tint on for 5 - 10 minutes. The result intensifies the longer the tint is left on.
Cosmeterie tip: It is best to tint one brow after the other and not at the same time. This way, you can keep a better eye on the time for an even-looking outcome.
First, remove the tint mixture with a dry cotton pad before following up with a damp cotton pad. Any colour residues can be removed with make-up remover or a salt solution. Pluck the brows into shape and et voilà, perfectly groomed and beautiful brows!
Photo credits: RefectoCil
Related products
-
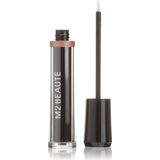
M2 Beauté Eyebrow Renewing Serum, 4 ml
- Promotes hair growth
- Strengthening & nourishing formula
- Lengthens & thickens the hairs
Magazine Articles:
Discover Cosmeterie:
-
Get at least 1 free sample
per order -
Delivery in 3 business days.
-
We operate in a
climate-conscious manner. More than 6.950 products